Wednesday, July 31, 2013

Stamped Clay Button

With so many Stampin' Up! buttons to choose from it was hard to want to try the Simply Pressed button moulds. As usual, inspiration came from my youngest child and muse.

Her idea was to draw or paint designs on a clay button. (Being a stamper, well obviously I used a stamp.)


Then, I got inspired to add a mechanism to my design! And, to make a masculine version!

By the way, that foil card stock is in the new Holiday Catty. Check out the link in the left margin tomorrow.
-press the clay into the mould and place it in the freezer
-when it's hardened, pop out the button and air-dry overnight
-cut all the labels using Big Shot and Chalk Talk framelits
-stamp the sentiments and the clay button
-assemble the pieces on a foam mat and pierce holes for the button and brad
-punch a 1/8 in. circle in the black label over the pierced hole

-punch 1/8 in. circles in the silver foil piece over the pierced holes
-position the button over the holes and thread 2 short lengths of ribbon through the holes
-secure the ribbon with glue dots and trim the ends
-secure the sentiments labels with a brad and adhere them to the foil circle
-adhere the whole mechanism to the stamped card front


Supplies
Stamps
-Dictionary 130348
-One in a Million 132052
Ink
-Basic Black ink pad 126980
-Melon Mambo or Smoky Slate marker
Paper
-Melon Mambo 115320 or Smoky Slate 131202 card stock
-Whisper White card stock 100730
-Basic Black card stock 121045
-Silver Foil card stock 132178
Tools
-Big Shot 113439
-Chalk Talk framelits 129983
-2-1/2 in. Circle punch120906
-1/8 in. hand punch
Accessories
-Brad Bases 132293
-Basic Rhinestones 119246 or Neutrals Candy Dots 130934
-Hung Up Cute Clips 129389
-Basic Black 1/8 in. Taffeta ribbon 119261

Wednesday, July 24, 2013

Buttons and Blossoms Simply Pressed Clay and Moulds

What fun I've been having trying out the new Buttons and Blossoms silicone moulds and Simply Pressed clay from the new Annual Catty!

Just press the clay into the mould, freeze it for 10 minutes, pop out an embellishment and let it air-dry overnight. The clay stays spongy when it dries and is easy to dye, cut, or otherwise alter.


-dye the clay with Blushing Bride ink
-press the coloured clay into the mould and place it in the freezer
-pop the flower out of the mould and set aside to dry overnight
-paint the flower with an Aqua Painter and Raspberry Ripple ink

-remove ink with a tissue and let dry
-colour the centre of the flower with a Crushed Curry marker
-fray the end of a length of Soft Sky seam binding
-pull a thread near the edge to gather
-use the Big Shot and Delicate Doilies Sizzlit to cut Whisper White card stock
-apply adhesive to the doily and adhere a curl of gathered seam binding
-apply glue to the back of the clay flower and adhere it to the seam binding
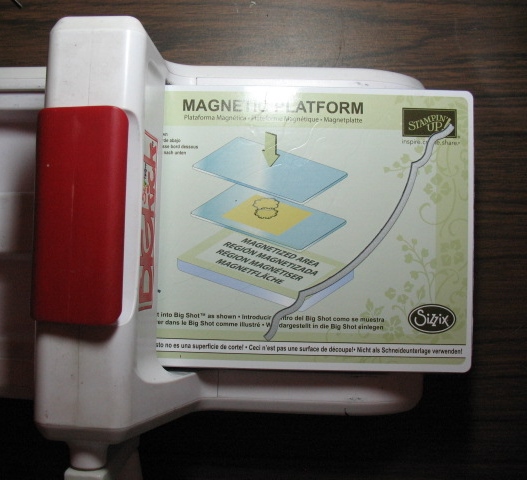
-place the Adorning Accents edgelit with the cutting edge up on the magnetic platform in the Big Shot
-mark the wrong side of the card front 5/8 in. from the bottom right and 3-5/8 in. from the bottom left
-place the card stock right side down on the edgelit
-cover with a cutting mat and run through the Big Shot


Supplies
Stamps
-Hello, Doily 128610
-Loving Thoughts 128436
Ink
-Blushing Bride ink refill 131157
-Raspberry Ripple ink pad 126859
-Crushed Curry marker
-Marina Mist ink pad 126962
-Whisper White Craft pad 101731
Paper
-Marina Mist card stock 119682
-Soft Sky card stock 131203
-Whisper White card stock 100730
Tools
-Big Shot 113439
-Magnetic Platform 130658
-Adorning Accents edgelits 125595
-Delicate Doilies sizzlits 126999
-Simply Pressed Clay moulds 131272
Accessories
-Simply Pressed Clay 130685
-Soft Sky seam binding 131210

Friday, May 31, 2013

A Day Early!

The 2013-14 Annual Catalogue is available a day early! That way you can order from it as well as from last year's catalogue and the Spring catalogue for today only.

Here are two cards I'm sharing in a swap this weekend made with new Hostess Sets. Qualify to order them by hosting a workshop or placing a $200 order.
Stamps
-Morning Meadow Hostess Set 129675
Ink
-Soft Sky pad 131181
-Baked Brown Sugar pad 131174
-Crisp Cantaloupe pad 131176
-Soft Suede pad 126978
Paper
-Soft Sky card stock 131203
-Crisp Cantaloupe card stock 131298
-Very Vanilla card stock 101650
-Baked Brown Sugar card stock 131296
Accessories
-Basic Pearls 119247
Stamps
-Postage Collection Hostess Set 129237
Ink
-Basic Black pad 126980
-Sahara Sand pad 126976
Paper
-Sahara Sand card stock 121043
-Midnight Muse card stock 126843
-Basic Black card stock 121045
-Naturals White card stock 102316
Tools
-Big Shot 113439
-Square Lattice embossing folder 119976
-Postage Stamp punch 122344
Accessories
-Vintage Trinkets 118764
-Linen thread 104199

Sunday, May 19, 2013

Dolled-Up Birthday Kit

Stampin' Up! is offering a new card kit for $17.95, designed by fellow demonstator, Chris Gilmore. You can follow the instructions included with the Dolled-Up Birthday kit (133913) or step it up as I did here.

Additional products:
-Delicate Designs embossing folder (127023)
-Delicate Doilies stamp set (128541)
-Pearl Basic Jewels (119247)
-Cherry Cobbler seam binding (120992)

You'll also need an acrylic block for the clear polymer stamp.

The Dolled-Up Birthday kit (133913) includes:
Dolled-Up Bithday Photoplymer Stamp (1)
8-1/2" x 5-1/2" Crumb Cake card stock (6 pieces)
2" x 4-1/4" Very Vanilla card stock (6 pieces)
Very Vanilla Medium Envelopes (6)
Tea Lace Paper Doilies (6)
Dress Up die-cuts (6)
Soft Suede Classic Stampin' Spot (1)
Vanilla 5/8" Flower Trim (6 pieces)
Sponge Dauber (1)


Friday, May 17, 2013

Sneak Peek

The new Annual Catalogue release date is June 1st! I've been using some of the new product and wanted to share a sample.
As usual, Stampin' Up! has created coordinating products to make designing quick and easy.
I used the new Mosaic embossing folder in my Big Shot, as well as the Mosaic Madness stamp set and matching punch.
If I get the garden in I'll post another sneak peek soon!